¶ Community creation (website and membership collection)
To introduce and describe your community to the world, you will need a few assets. To make sure that the community creation process is the smoothest possible, it helps if you can prepare the following things before you start:
- an introduction or short description of the community (this short description is used on pages where your community is shown together with other communities), together with
- a detailed description (this text is shown on your own community page, where you introduce your community to your existing and future members in detail), together with
- a terms and conditions text, together with
- a banner image (recommended size: 750x750px), and
- a cover image (recommended size: 3840x1000px).
- Finally, you will need some artwork for your membership cards. Your membership card design can be very simple (all cards look the same) or very complex (using different pictures) and a lot in between... just make sure you prepare images of the same size in PNG or JPG format, and you are using images with size less than 4 MB.
Please note that for short- and detailed descriptions, AI help is also provided.
¶ Prerequisites
- You need to be registered at Galaxis with an e-mail address or crypto wallet, and be logged in to the community creator interface (Community Creator App).
¶ The process
After login, you will see the following page that contains the 4 main parts required for a community website along with the membership collection.
- Community info
- Membership card info
- Social media links
- Blockchain and storage
Now let us see them step-by-step.
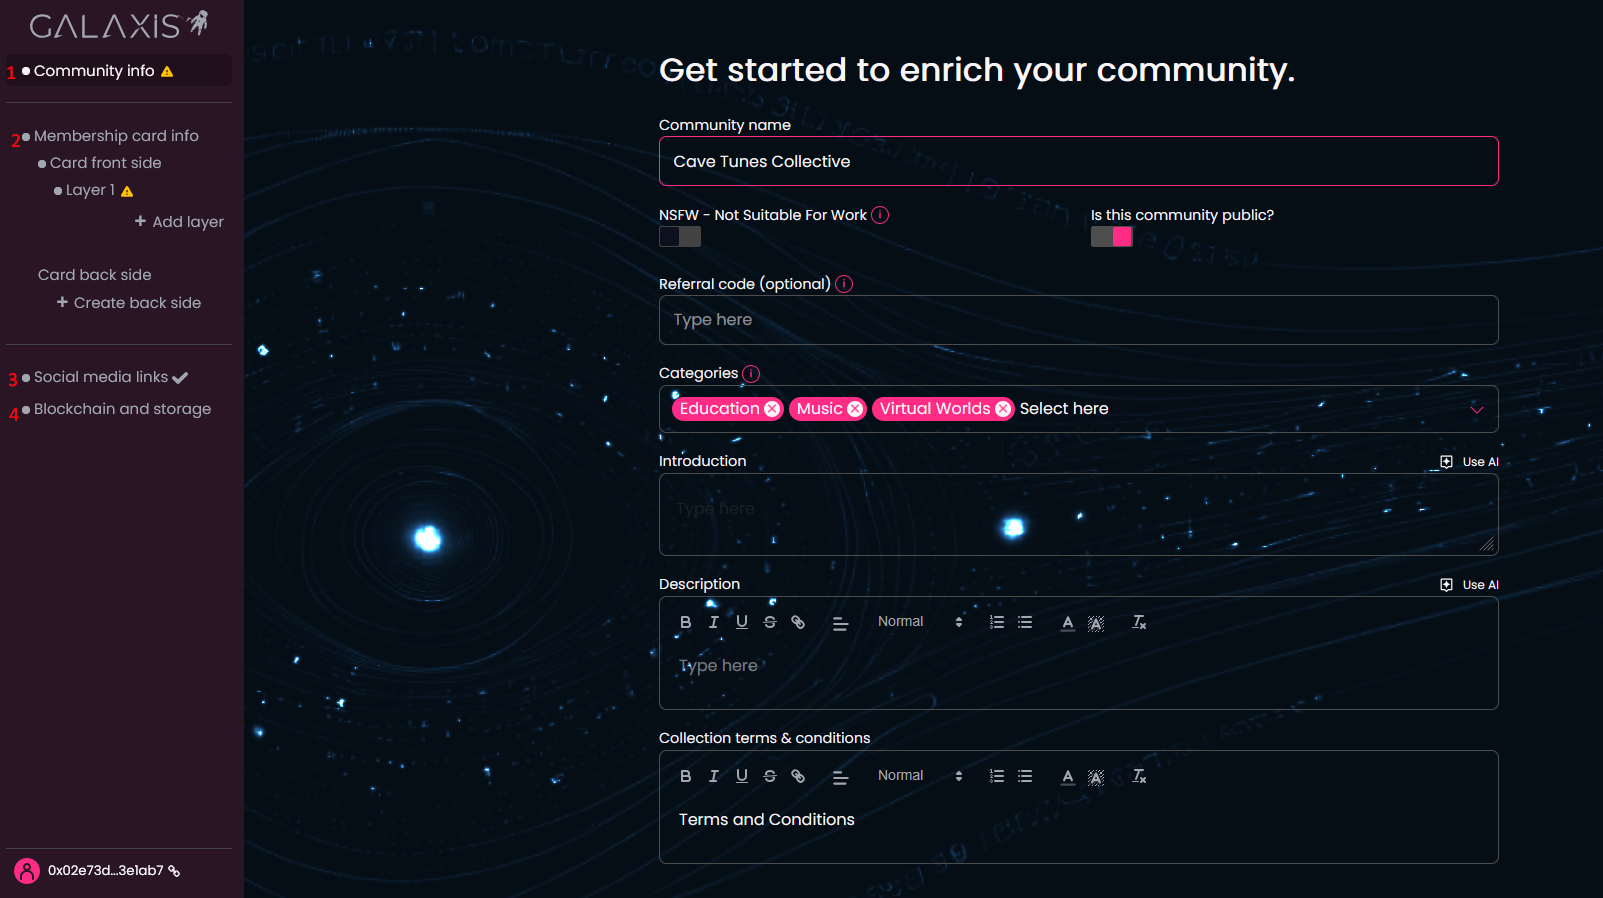
- Community info - contains essential information used to build your community website.
- Name your community.
- Turn on NSFW if your community content is not suitable for work (for example the images that you want to use contains nudity or similar things).
- Turn off the Is this community public? option if you want to temporarily hide your community from the public until everything is designed and set up. Please note that if this toggle is on, your community will become public and visible after you click the Launch community button.
- Type in the referral code if you have one. If you arrived via a referral link, it will be auto-filled. If not, leave blank.
- Select the categories that fit the most the topic of your community. You can select up to 6 categories.
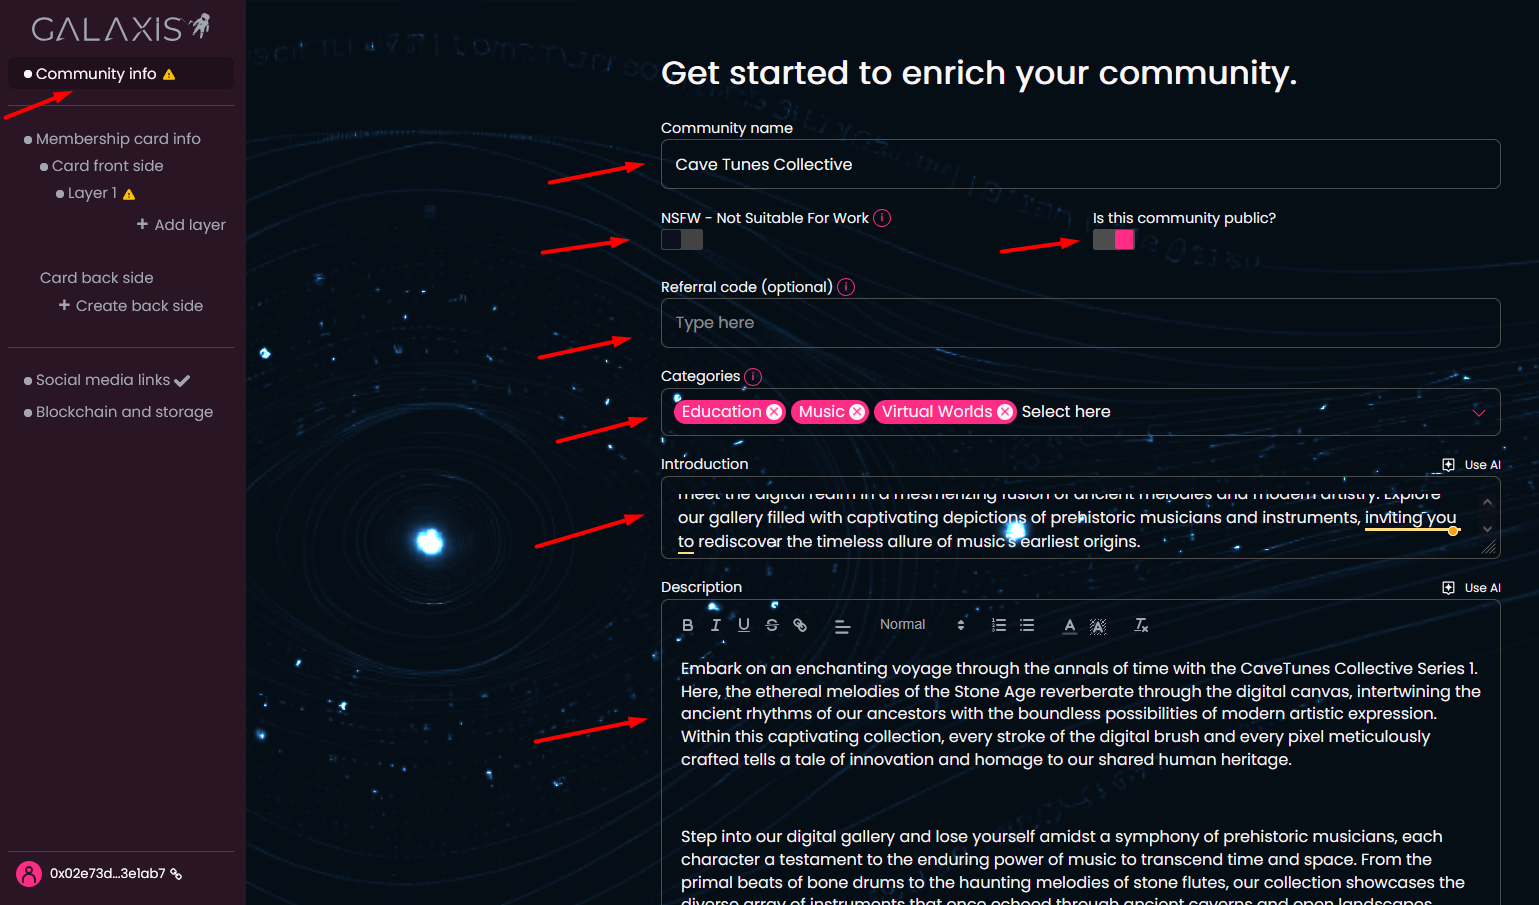
- Write the introduction text.
- Write the description of your community.
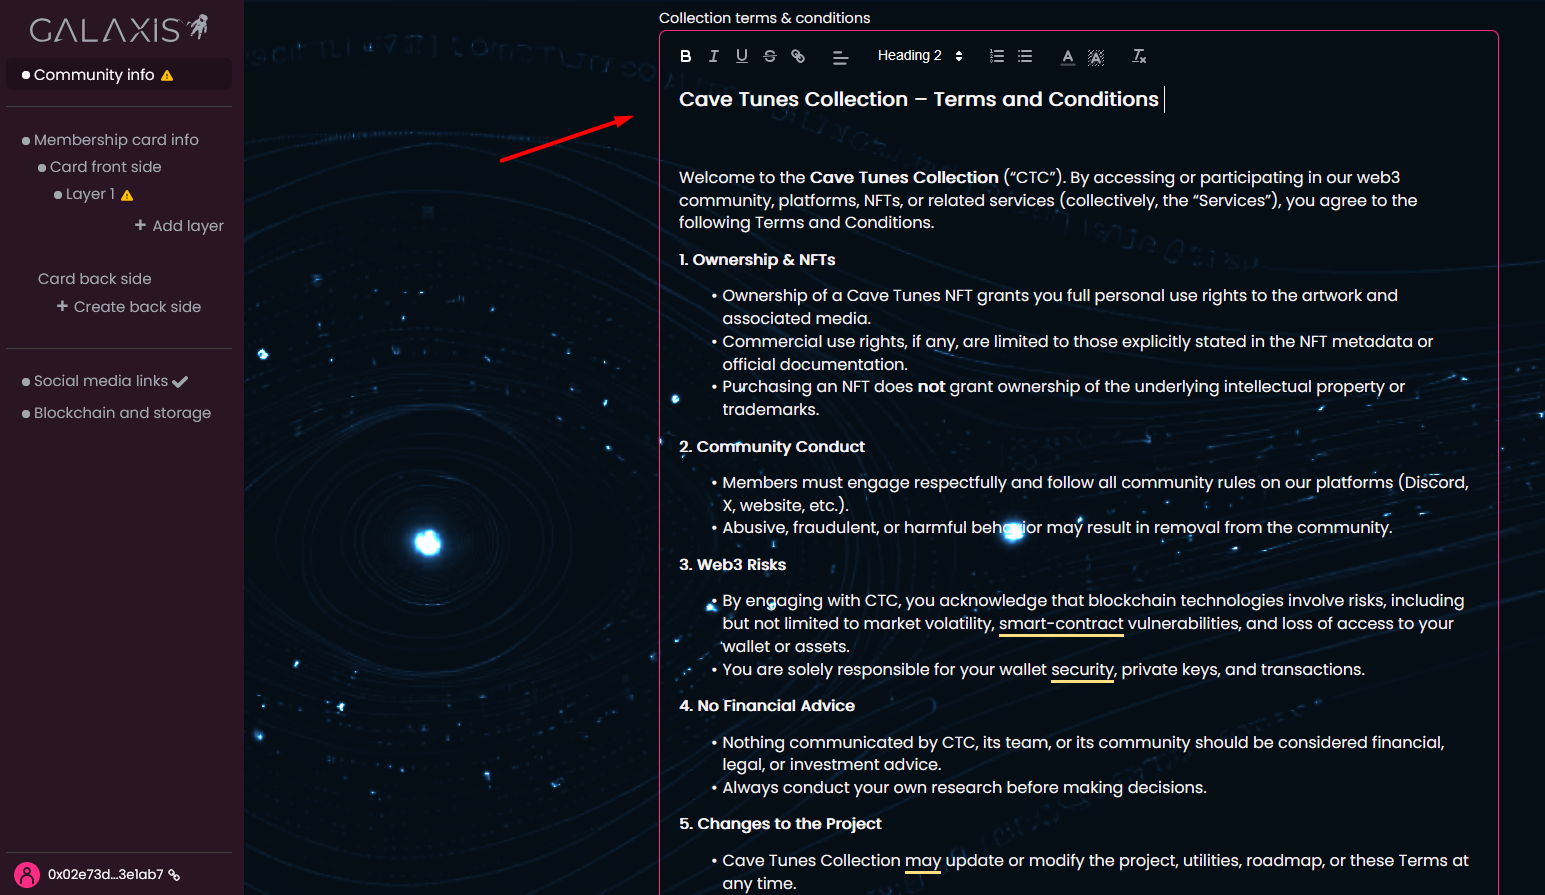
- Write the terms and conditions of minting a card from the membership collection. If you already have the text of this, you can upload it as a .txt file.
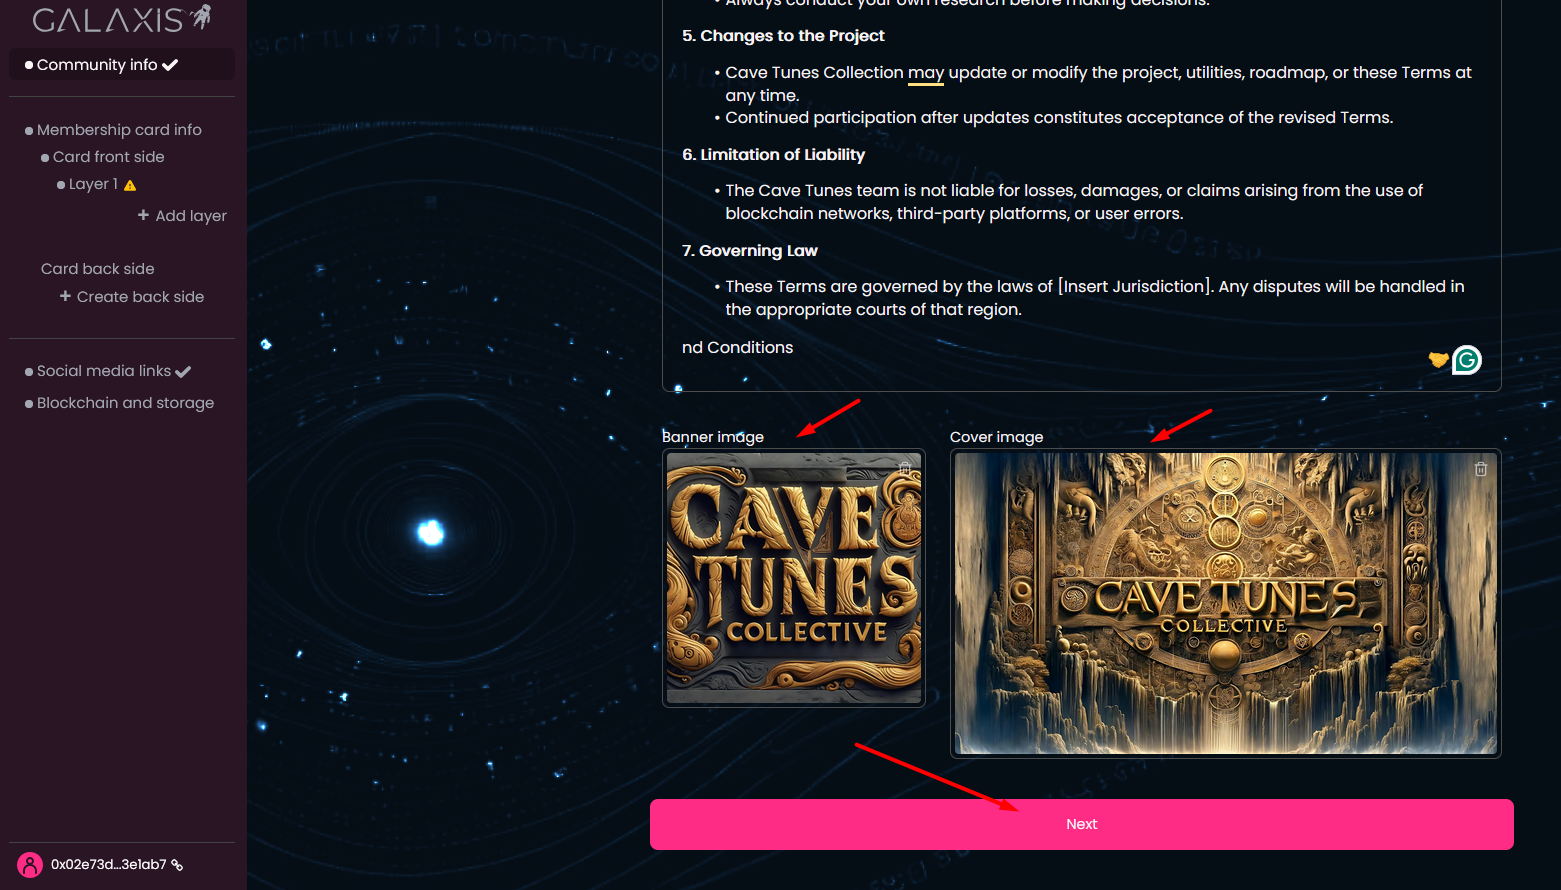
- Upload a banner image.
- Upload a cover image.
If you have completed each field appropriately a checkmark will appear at the end of the section title. Click Next to proceed to the next section.
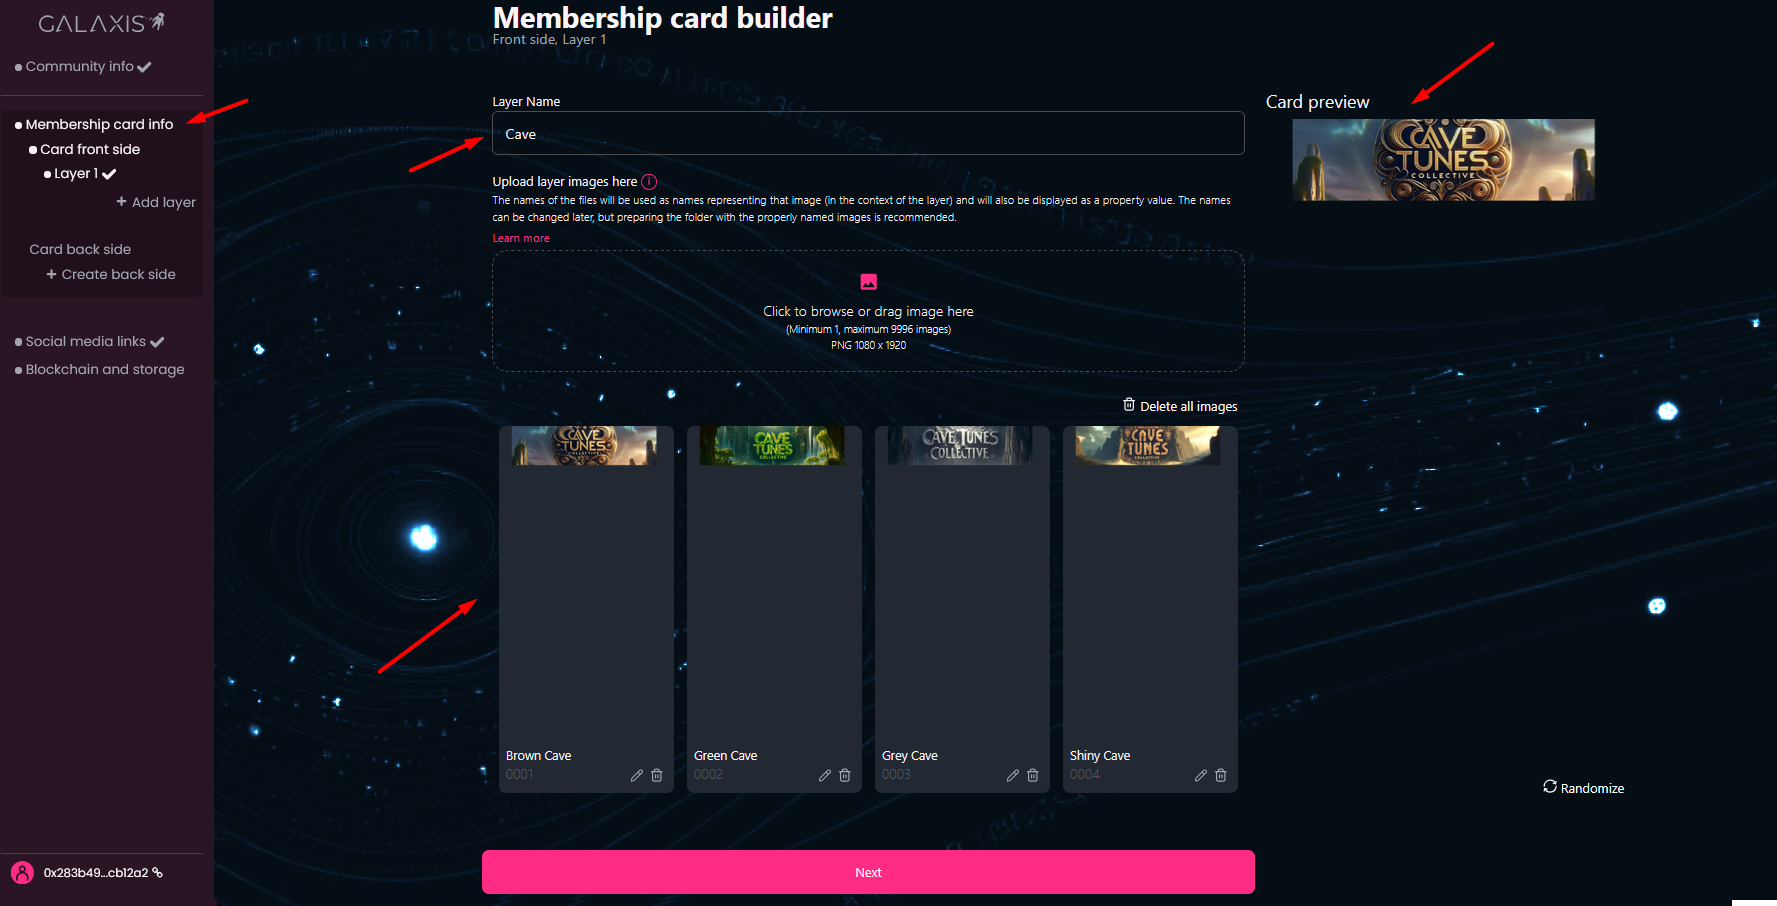
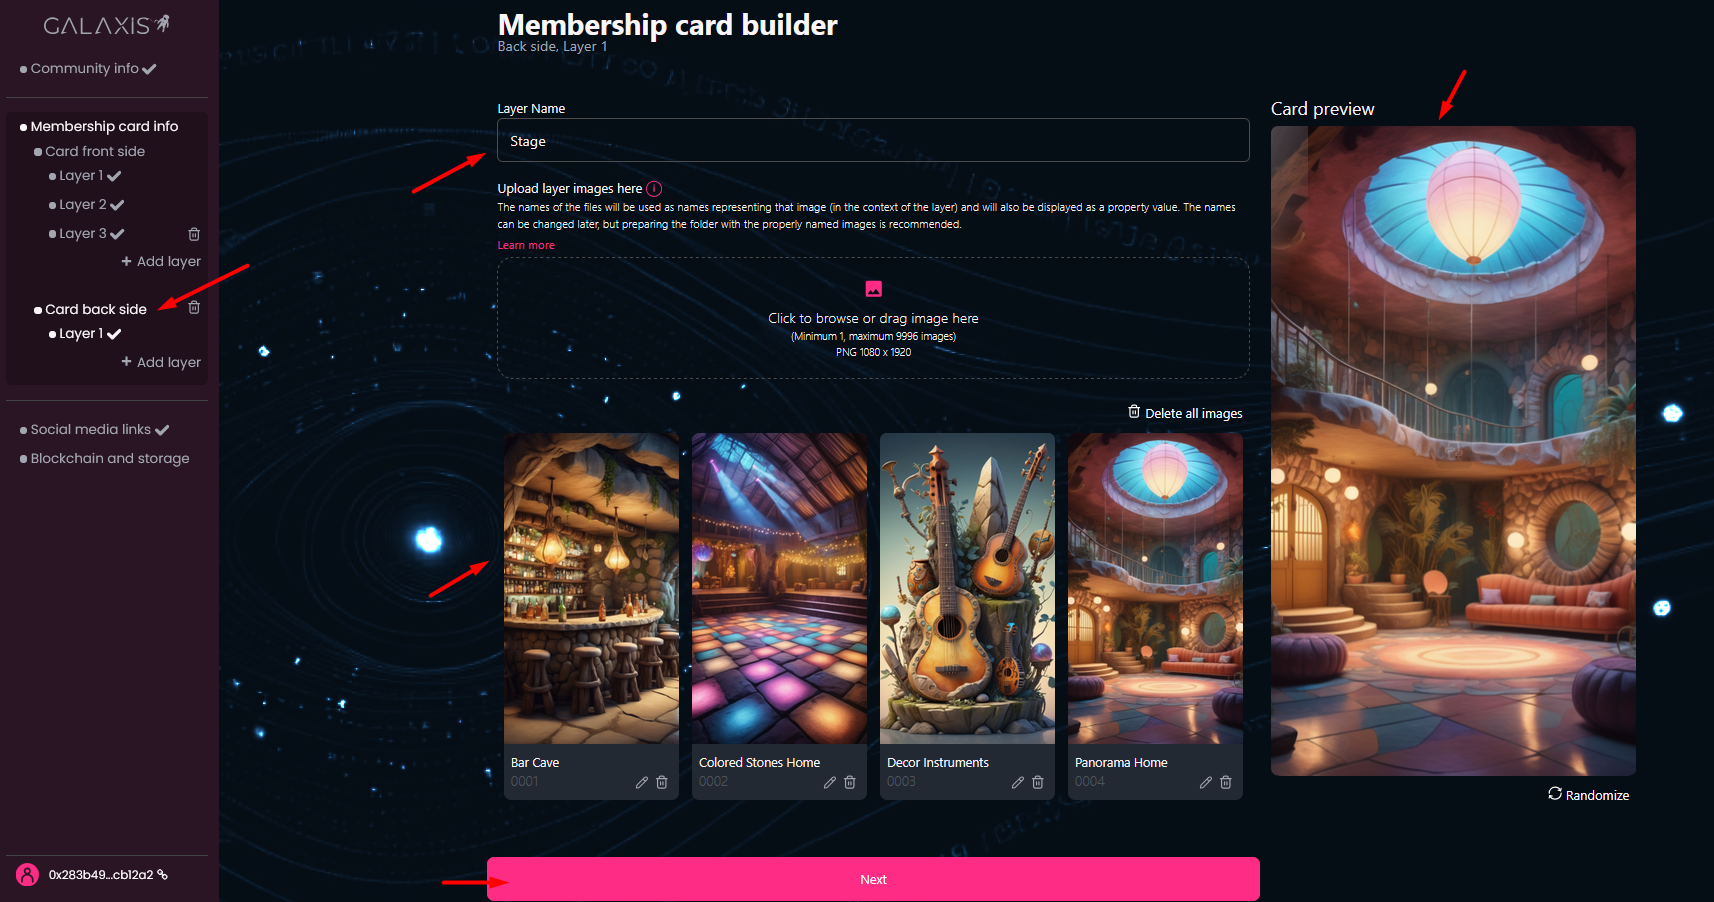
- Membership card info - this section contains settings for building a collection of 2-sided cards, with up to 10 layers on each side.
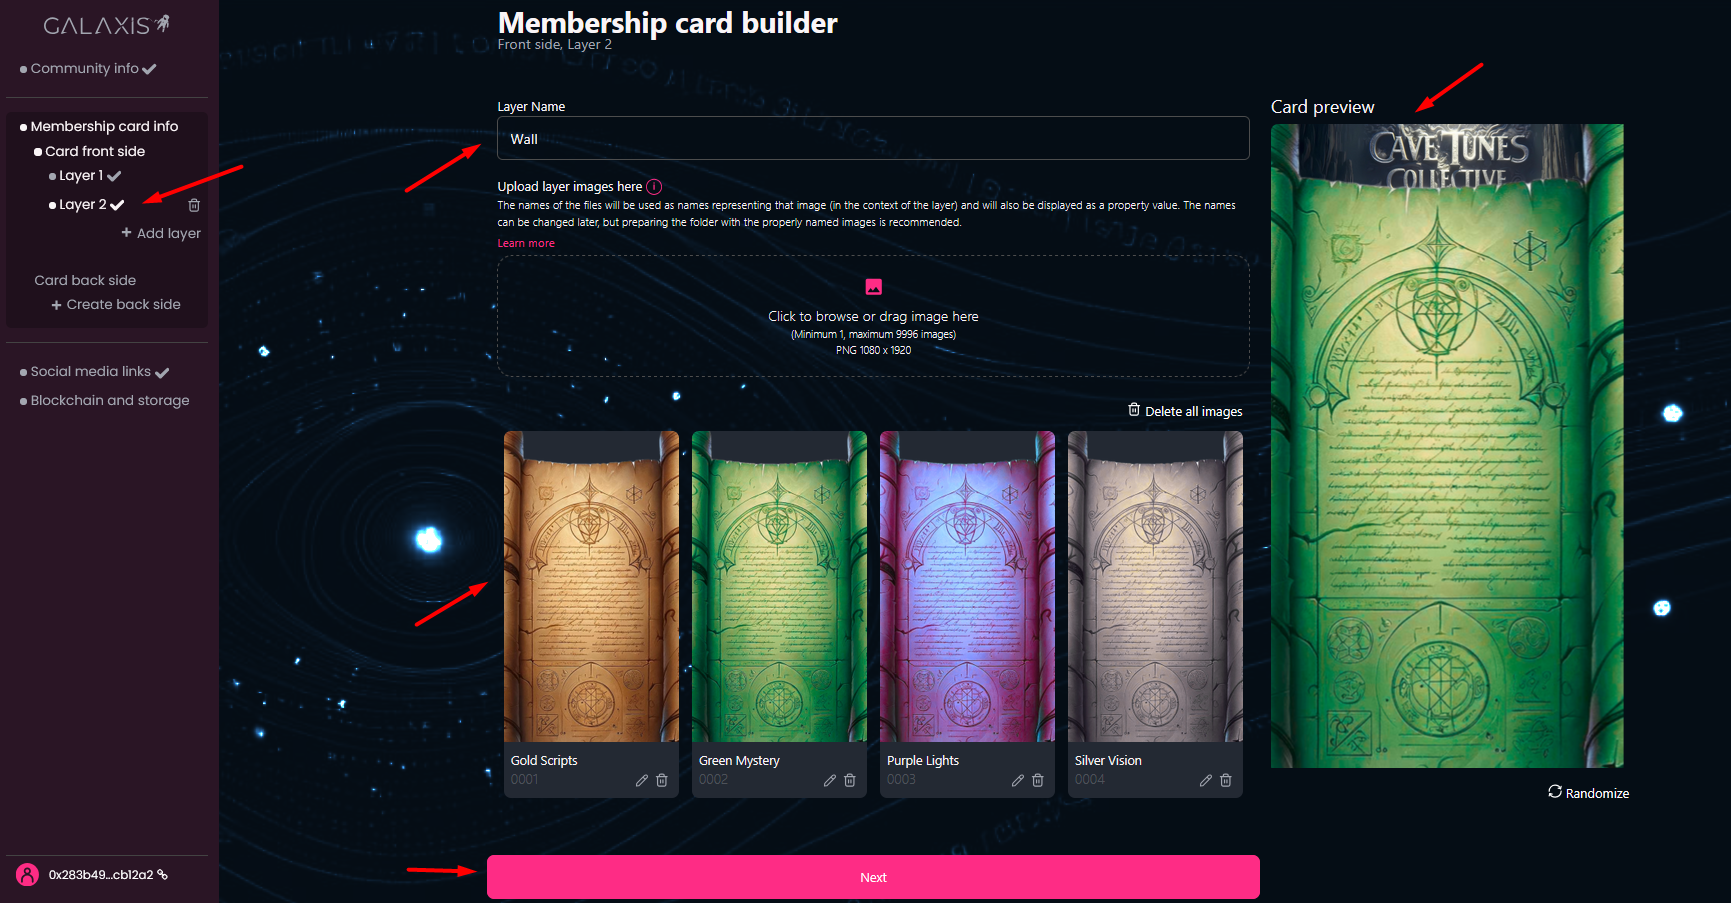
If you decide to create the front side of the card using multiple layers, here is a video explaining how the layers align to form the side image.
- Provide a name for each layer, and upload the images that you would like to use on that layer. You can preview your card as you upload the layer images.
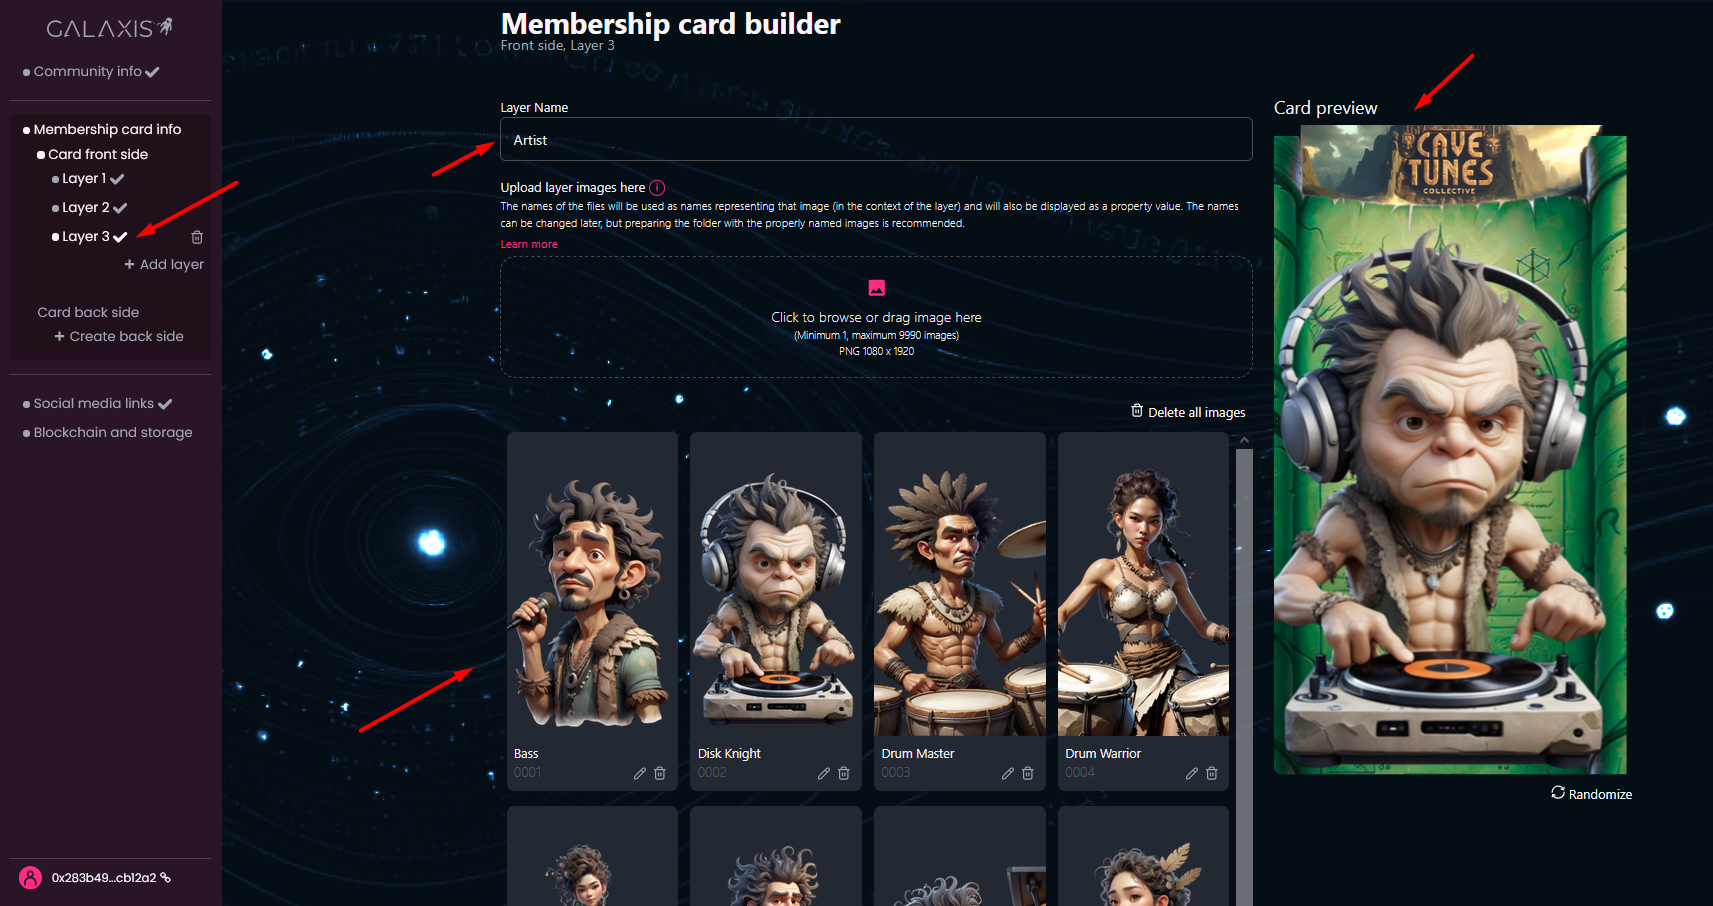
If you want a two-sided card, create the back in the same way as the front. To preview the back side, click the small ‘turn card’ icon at the center.”
-
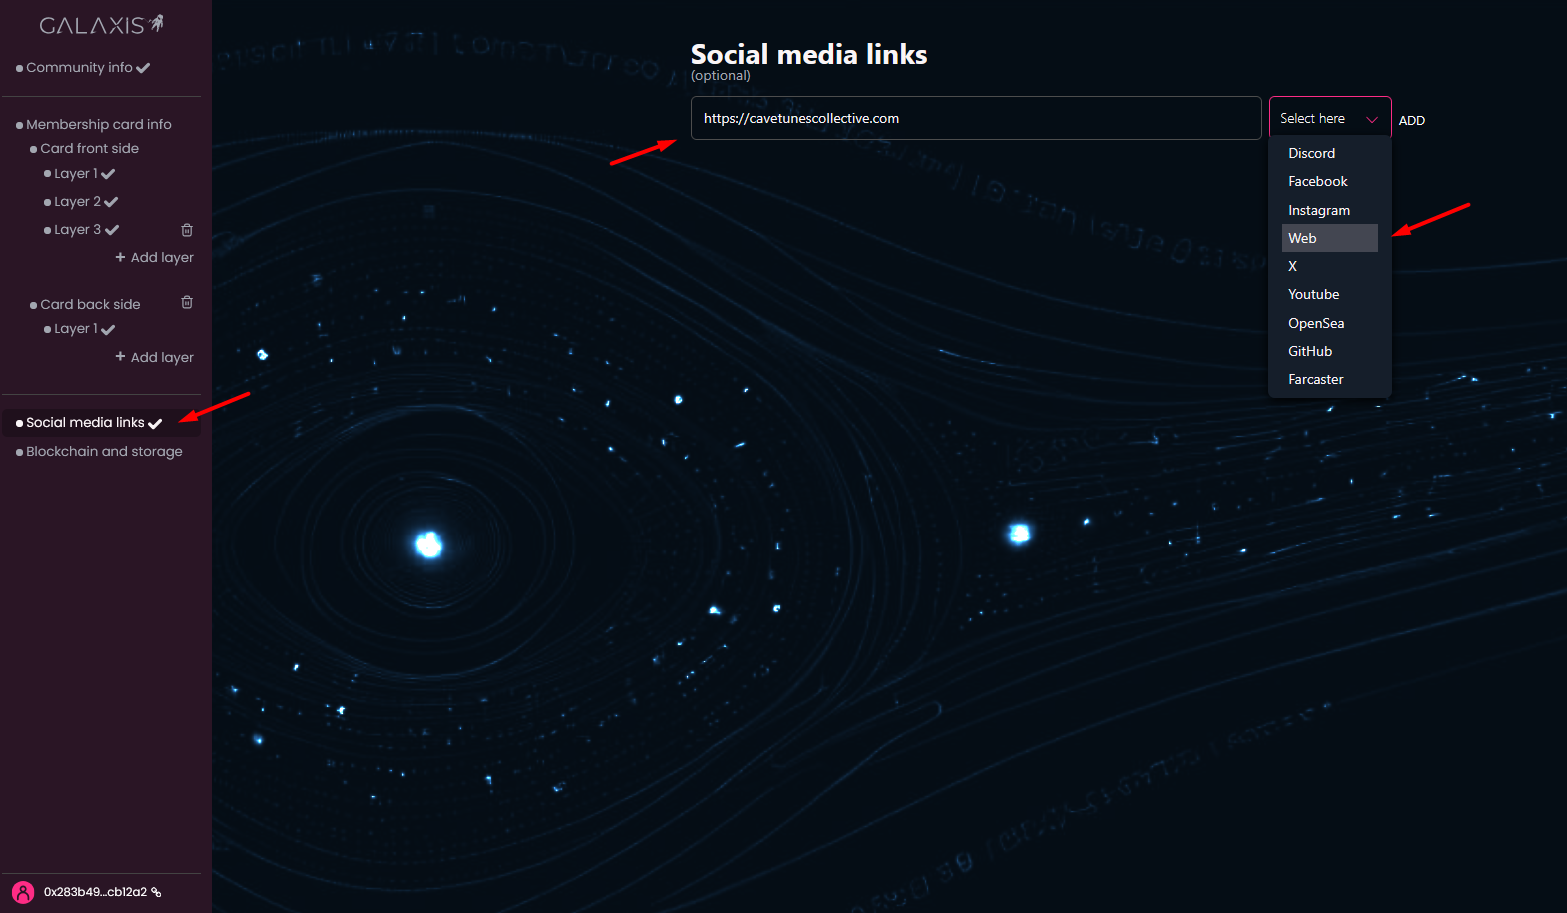
Social media links - has checkmark by default, because this section is optional.
However, if you have a Discord-, X-, Instagram-, Farcaster-, OpenSea-, GitHub-, YouTube- or Facebook user, or dedicated website, do not hesitate to provide them here.
-
Blockchain and storage - if you registered with crypto wallet then you can see here your linked wallet address and you can select the Community home chain.
You can deploy your community to Ethereum, Polygon, Arbitrum, Base or Abstract.
The Community storage is predefined to Amazon Web Services. This is the place where your community assets will be stored.
If you registered via email, you will now need to link (first create, if you do not have) a crypto wallet.
You can find the list of wallets here. Your wallet is your identity card, no one else can sign any document with your signature (as long as you keep it safe). If you have no preference, we recommend using MetaMask, a simple add-on you can install for your browser. Once installed, connect your wallet. But do not forget to buy a little amount of crypto in the currency of your target chain, because that will be required for the gas fee of the transactions.
When linking your wallet, you will have to fulfill a signature request. Click on Confirm in your wallet.
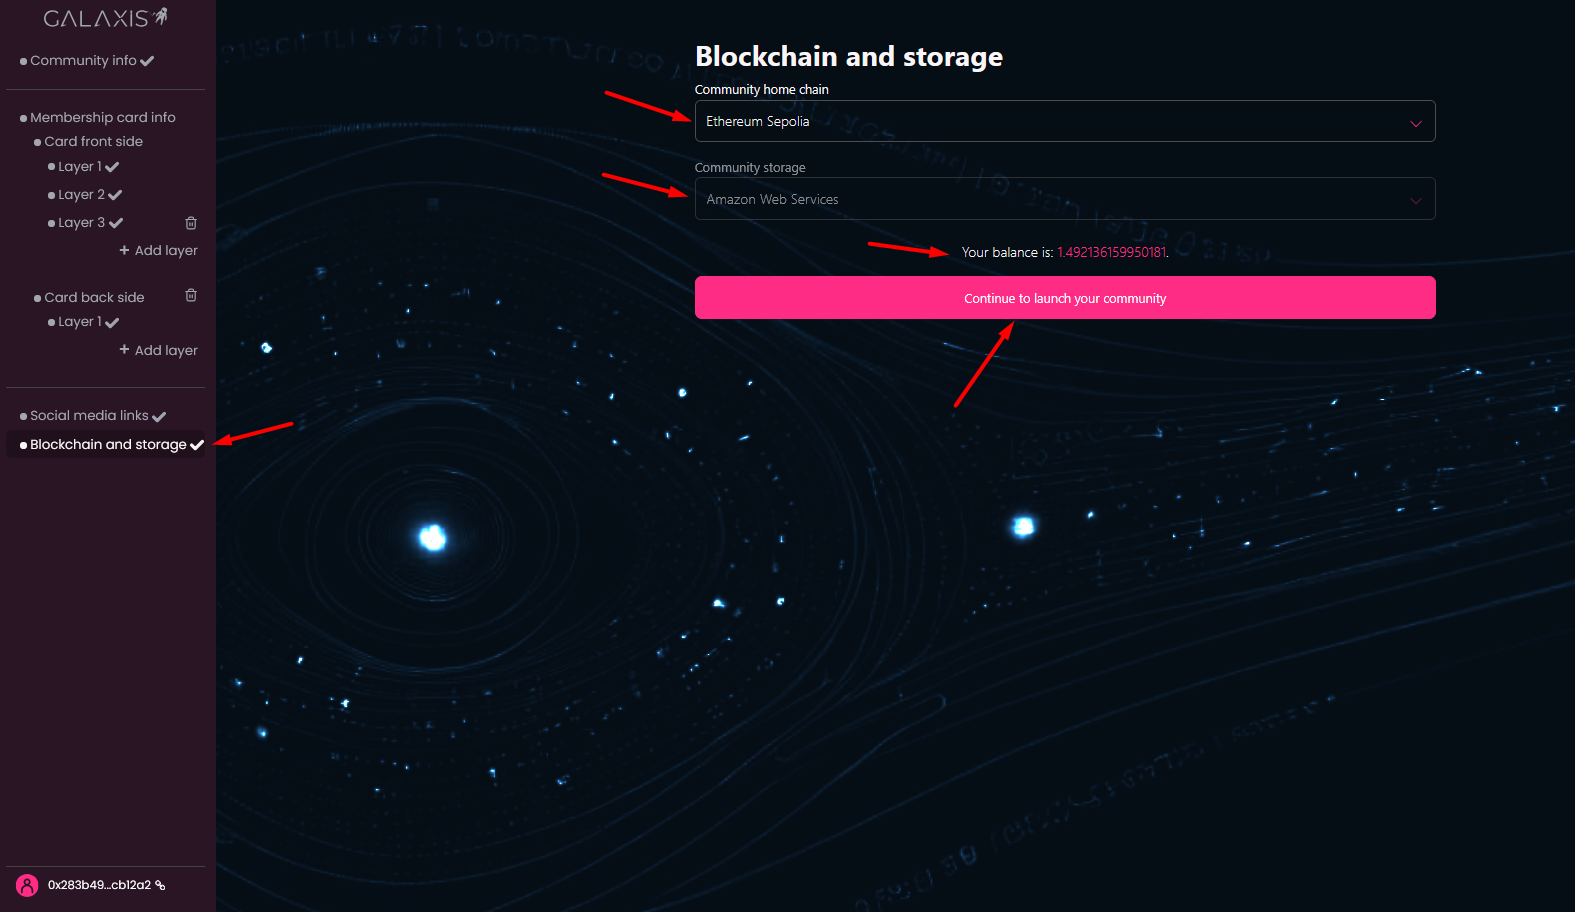
If everything is set up you can click on the Continue to launch your community button.
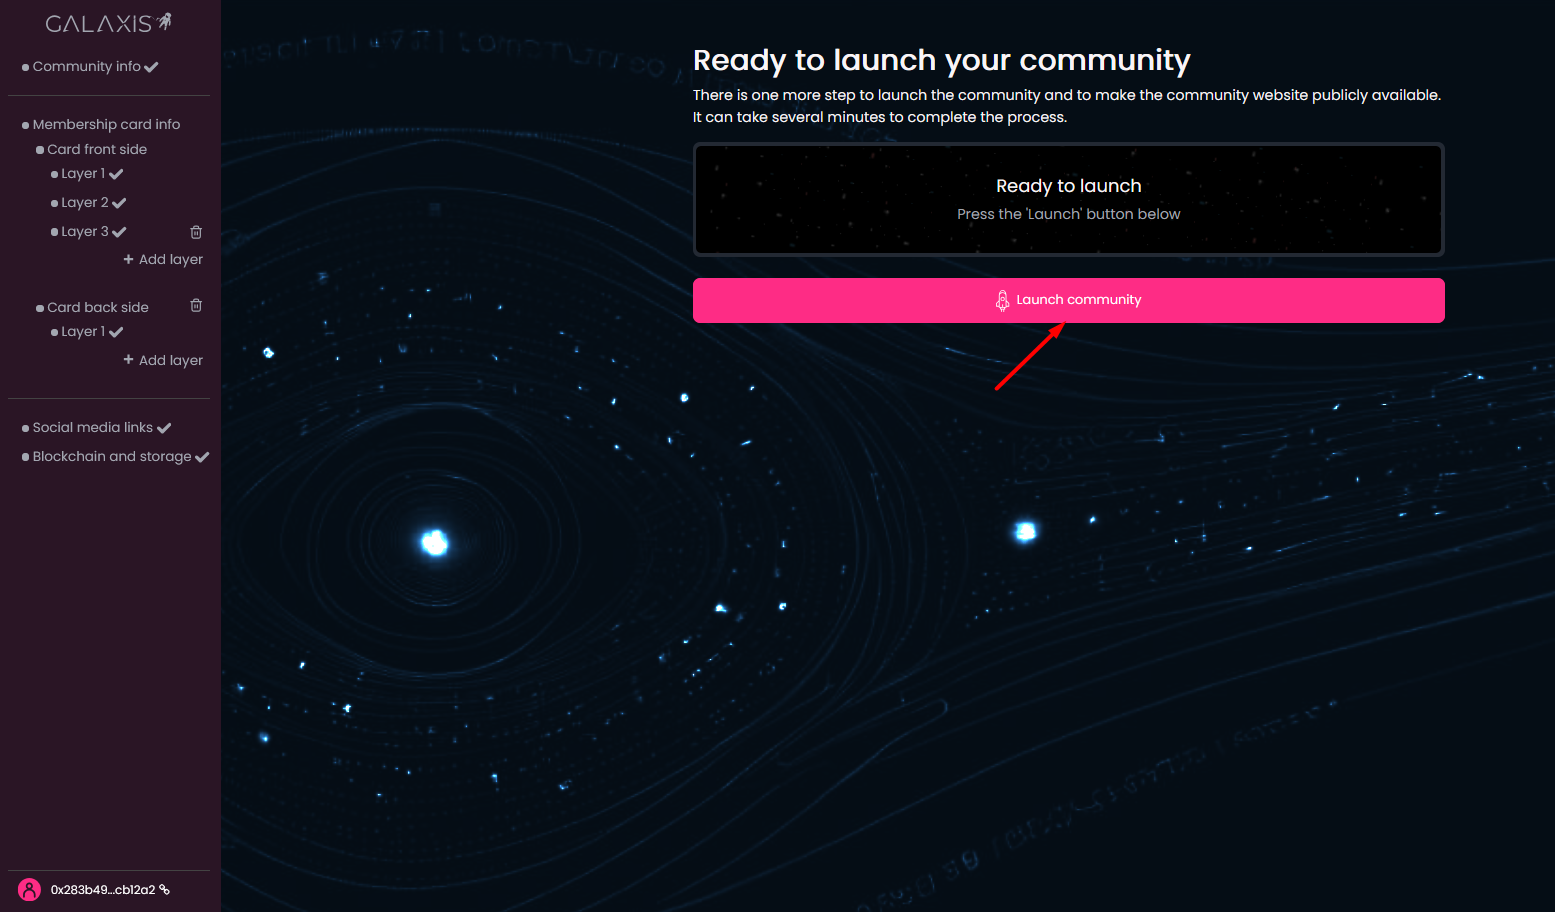
Click Launch community, then confirm the transaction in your wallet and pay gas fees.
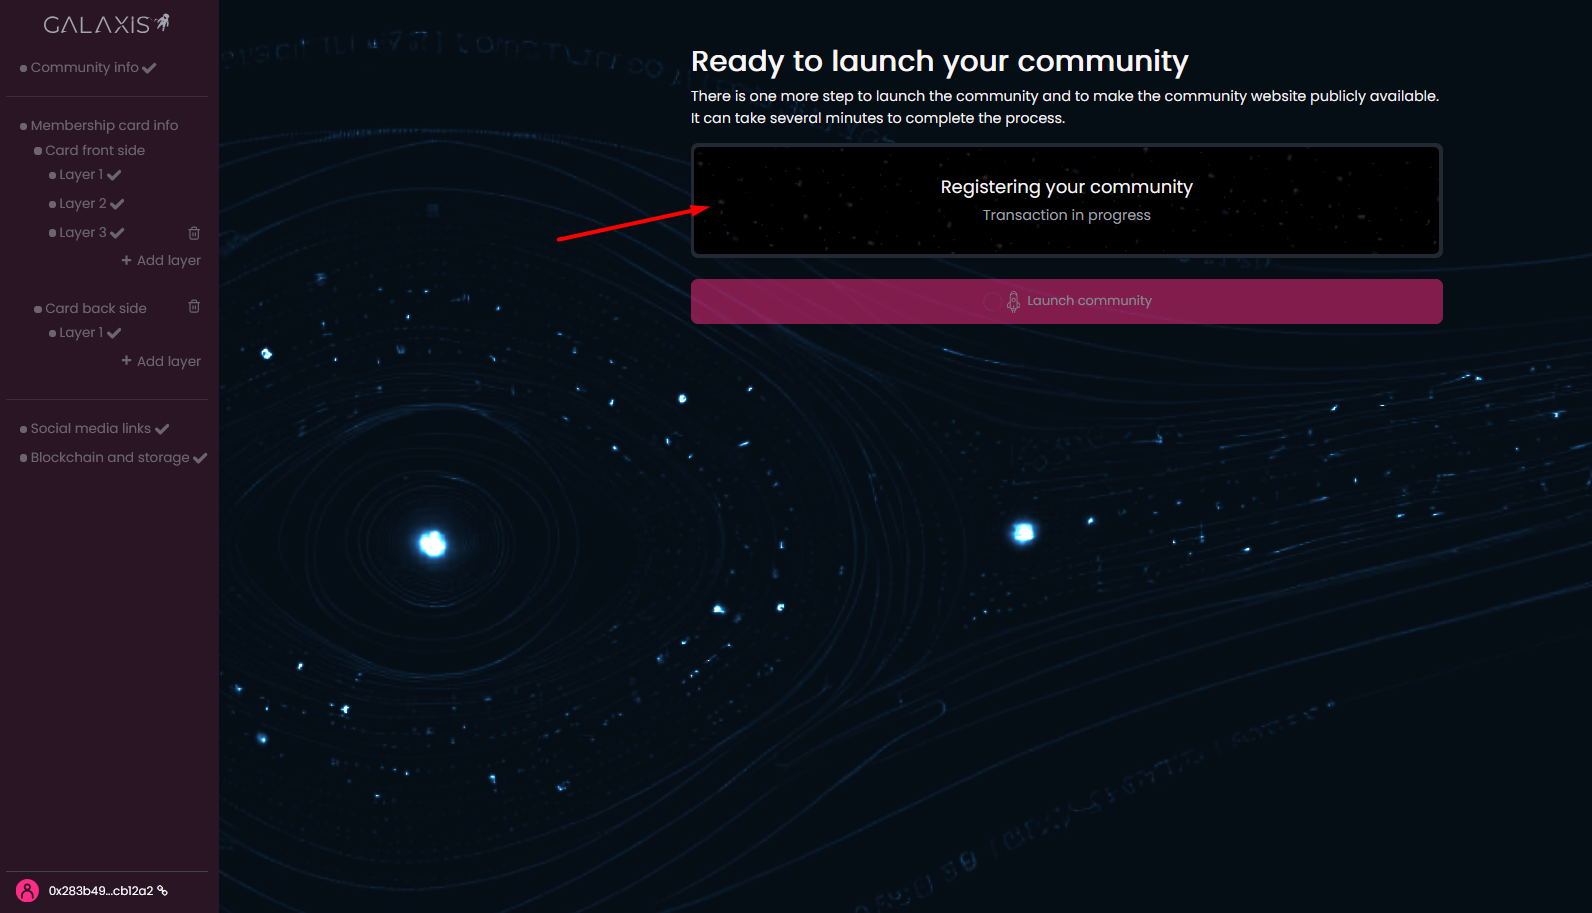
The launching process has begun - you are able to see how the progress bar advances and also can see the description of the actually running part process.
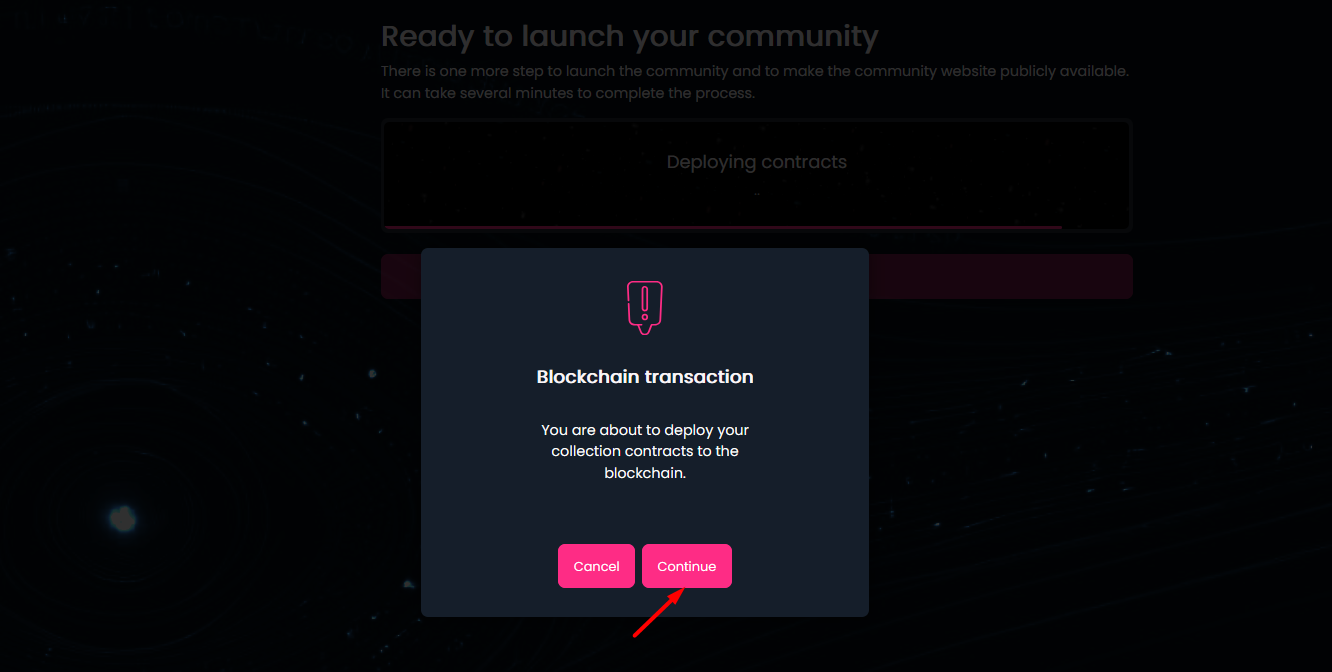
The community website will be created and the appropriate data will be written on blockchain - when the contracts are deployed, you will have to confirm a transaction once again in your wallet.
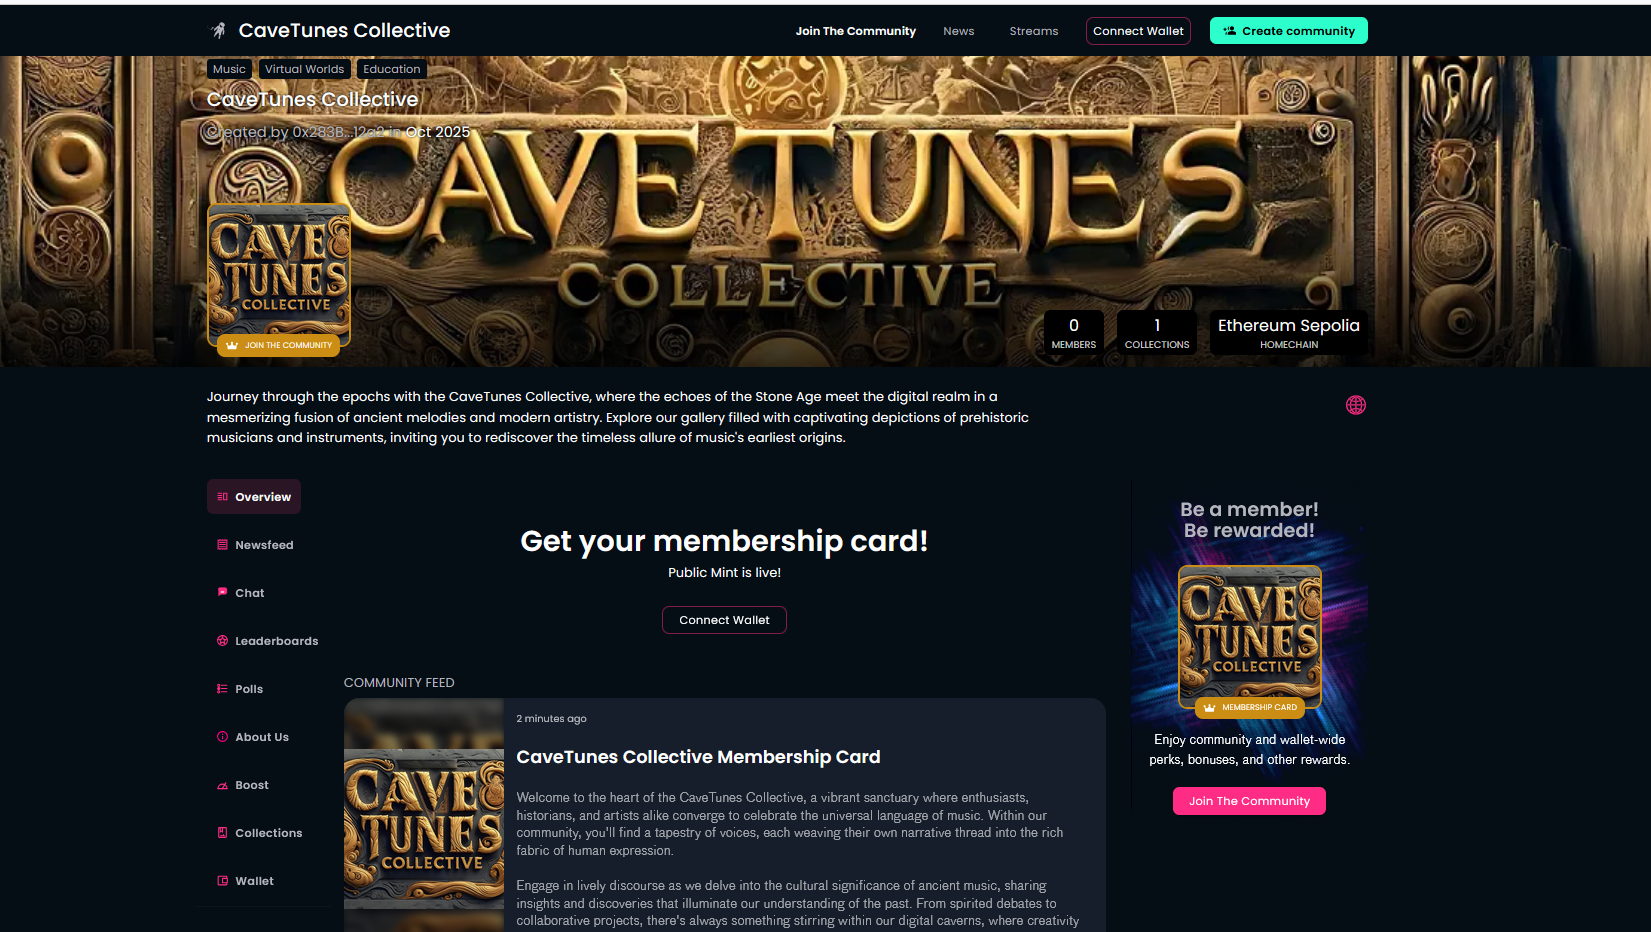
The community website will open in a new tab when clicking on the View Community button.
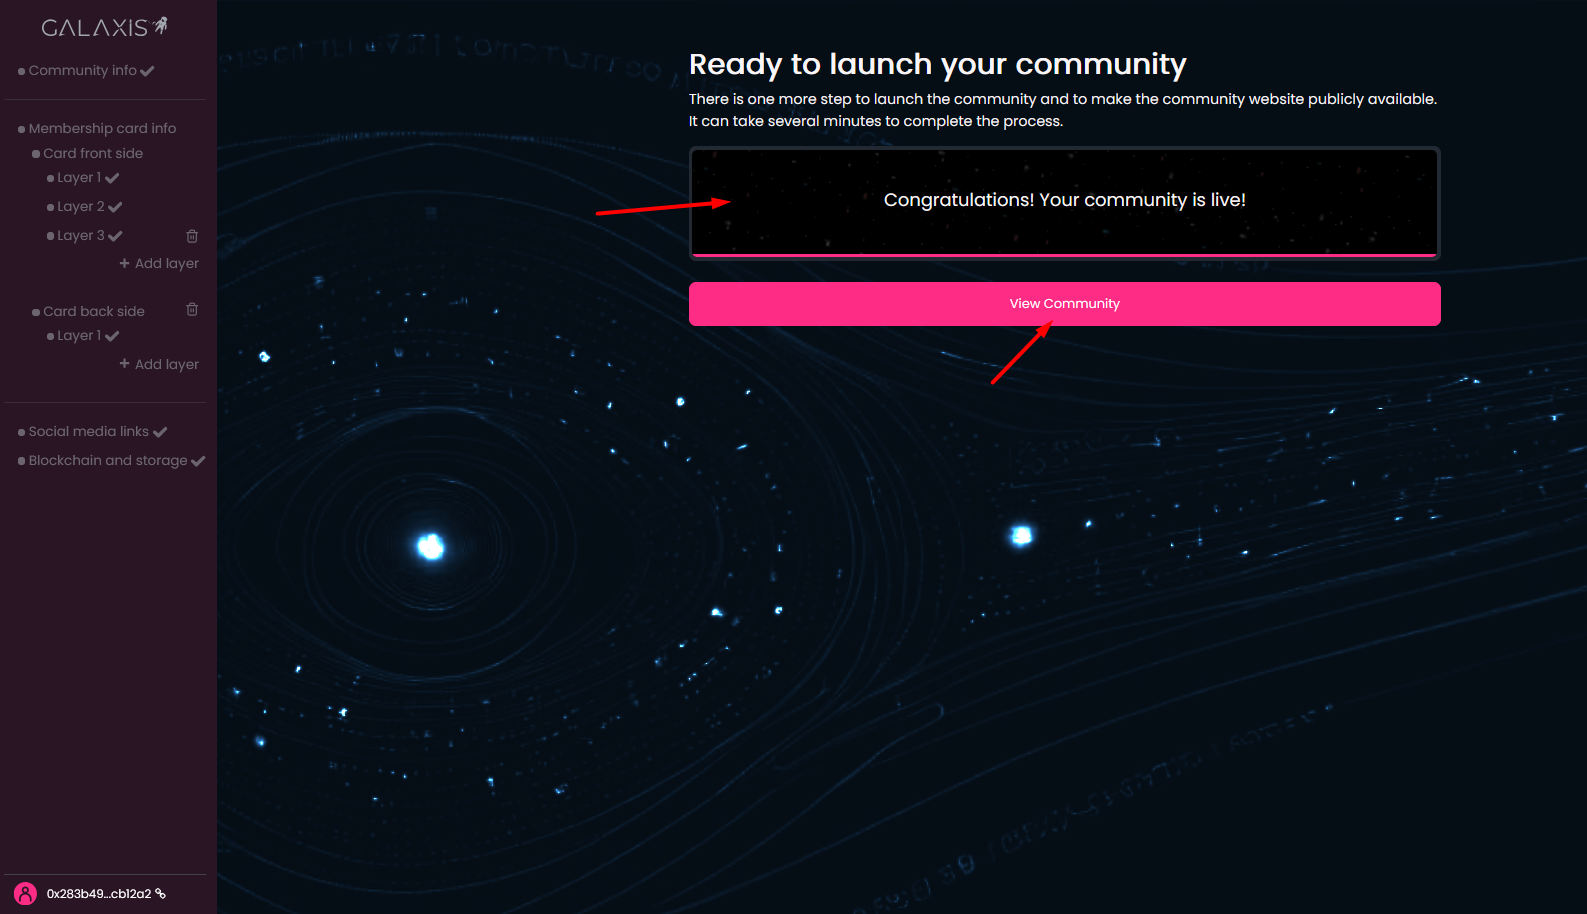
¶ The result
Congratulations! Your community website is published and the potential community members who visit the website can mint membership cards for themselves.